How to Convert HEIC to JPG (and Between Any Image Formats)
The most common image-conversion problem in the world right now is an iPhone photo that some website, form or Windows PC refuses to accept. The fix takes seconds — and despite what the first page of search results implies, it does not require uploading your photos to anyone. This guide covers converting HEIC to JPG, choosing between JPG, PNG and WebP, and what the quality slider really does.
Open the Image Format Converter →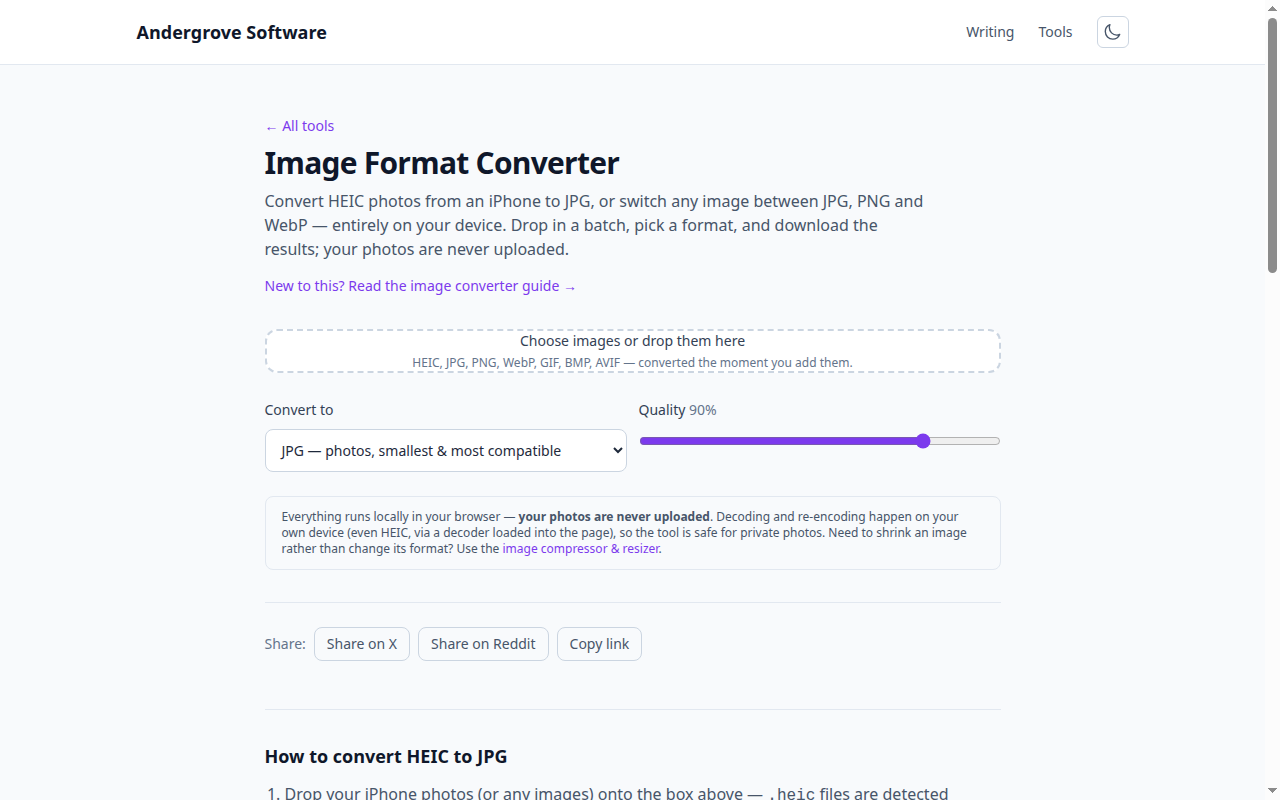
What the image converter does
The Image Format Converter takes images in any format your browser can read — plus HEIC/HEIF, which it decodes with a bundled decoder — and re-encodes them as JPG, PNG or WebP. It converts in batches, shows before/after file sizes, and does all of it on your own device: the photos never cross the network.
How do you convert HEIC to JPG?
Drop the HEIC files onto the tool, leave the output format on JPG, and download the results — conversion starts the moment the files are added. A 3 MB iPhone photo typically becomes a 1.5–3 MB JPG at the default 90% quality, and the converted file opens anywhere: Windows, Android, old software, upload forms.
Notes specific to HEIC:
- The decoder loads on demand. HEIC decoding needs an extra library (~1.3 MB), fetched only when you actually add a HEIC file — and it runs in your browser, not on a server.
- Live Photos convert as stills. A Live Photo's motion lives in a separate video file; converting the HEIC gives you the key frame.
- Bursts and multi-image files convert as their primary image.
JPG, PNG or WebP — which should you choose?
Pick by destination, not by habit:
| Format | Best for | Transparency | Typical size |
|---|---|---|---|
| JPG | Photos going to unknown or older destinations — it opens everywhere | No (filled white) | Small |
| WebP | Anything destined for a website | Yes | Smallest |
| PNG | Screenshots, logos, graphics; lossless master copies | Yes | Large for photos |
The longer version — including where AVIF fits and why photographs should almost never be PNGs — is in WebP vs. JPEG vs. PNG.
What does the quality slider do?
JPG and WebP are lossy formats: the encoder throws away detail the eye is unlikely to notice, and the quality setting decides how aggressive that is. The default of 90% is visually indistinguishable from the original for photos; 75–85% is the web-publishing sweet spot; below about 70%, compression artefacts start to show around edges and in smooth gradients. PNG is lossless, so the slider is hidden — quality is always perfect and size is whatever it is.
Converting is re-encoding, so each lossy generation discards a little more. Convert from the original where you can, rather than converting a conversion.
Edge cases worth knowing
- Transparency to JPG: JPG has no alpha channel, so transparent regions are composited onto white. Choose PNG or WebP to keep them.
- Animated GIFs: conversion takes the first frame — this tool makes still images, not video.
- WebP on older browsers: if your browser cannot encode WebP, the tool says so and falls back to PNG rather than failing silently.
- Metadata: re-encoding through a canvas drops EXIF data — location, camera model, timestamps. For photos you are about to share publicly, that is usually a feature.
Why convert locally instead of using an upload site?
Personal photos are exactly the files you should be slowest to hand to an anonymous server, and conversion does not need one: browsers ship every codec required, and even HEIC decoding is just a library the page can run locally. Local conversion is also faster (no upload/download round trip) and works offline once the page is loaded. The same logic applies to PDFs — we wrote it up in Are online PDF tools safe? and it goes double for a camera roll.
Ready to try it? Open the Image Format Converter →